Multigrain Bread Baking Made Easy
- Jasmine Minor

- Sep 12, 2020
- 4 min read
I used to feel like bread was something I bought every single time I hit the grocery store and more often than not, I was super annoyed at the huge list of ingredients that packaged bread options sported. With that said, you can only imagine how excited I was when my mom discovered this super easy bread recipe that would allow me to bake a loaf at home with minimal ingredients and maximum crunchiness!
Before we dive into the recipe, let me give you the list of ingredients and equipment I use to nail this bread making experience time and again.
Ingredients:
300g All Purpose Flour
100g Whole Wheat Flour
½ tsp Active Dry Yeast
1 ¼ tsp Table Salt
300g Water
I generally double the recipe to get a bigger loaf, in which case this would be the correct quantity list to use:
600g All Purpose Flour
200g Whole Wheat Flour
1 tsp Active Dry Yeast
2 ½ tsp Table Salt
600g Water

Equipment:
Large Mixing Bowl
Rubber Band or Headband
Spatula
Kitchen Scale
Dutch Oven (this is the one I have and it works perfectly https://www.amazon.com/dp/B07B4ZPGV4/?ref=idea_lv_dp_ov_d&tag=aiponsite-20&linkCode=ic6&ascsubtag=amzn1.ideas.EY9YPEJNM8R6 )
Bread Basket or Kitchen Towel and Smaller Bowl than using for Mixing the Dough (this is the basket I have https://www.restaurantsupply.com/matfer-118506-10-1-4-round-banneton-willow-basket )
Alrighty, so now that we have all the ingredients and equipment accounted for, let’s get into the process!
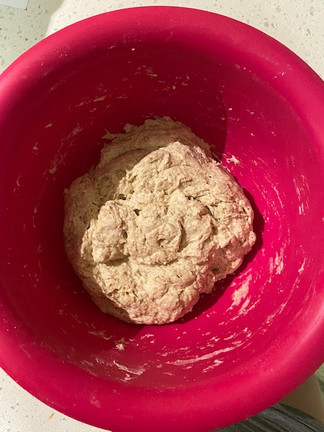
1. Add all dry ingredients into large mixing bowl and mix thoroughly using a spatula.

2. Add the water to the dry ingredients and mix with spatula (do not knead) until a small sticky dough forms, being careful to scrape down the sides and bottom to incorporate all dry ingredients.


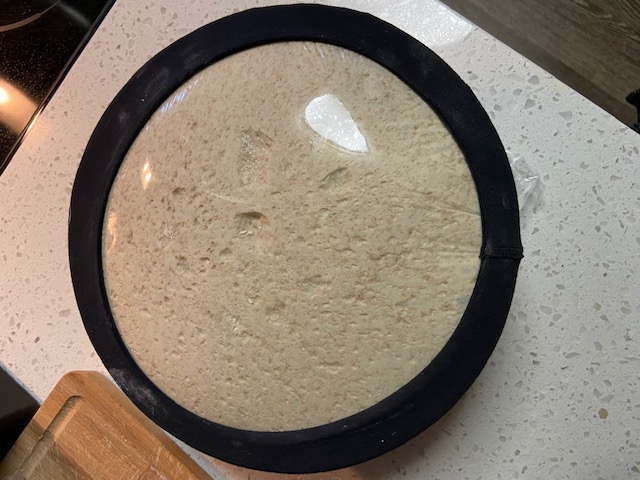
3. Cover mixing bowl with clear plastic wrap and secure the wrap with a rubber band (or headband in my case). The plastic should not touch the dough, but instead sit tight across the top of the bowl.

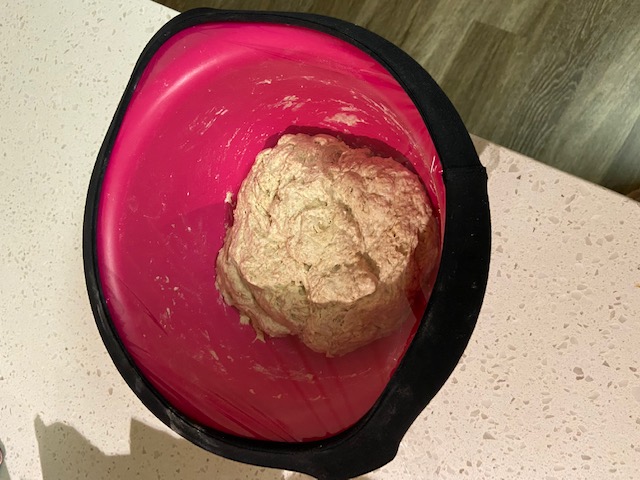

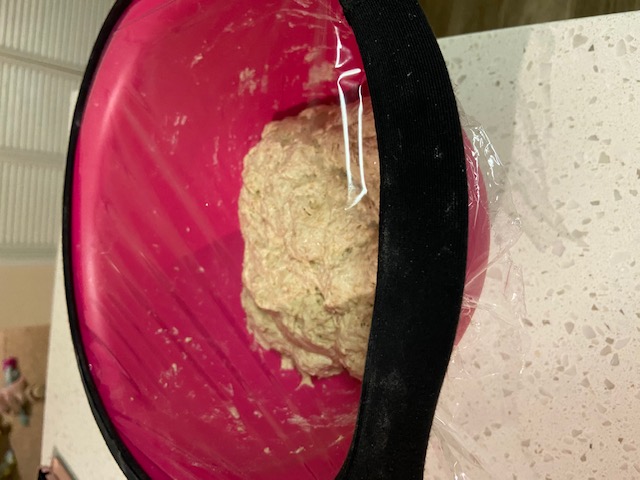
4.Place covered dough in room temperature, dry place, avoiding areas with a breeze or excessive air movement (ie. near an AC vent or below fan)
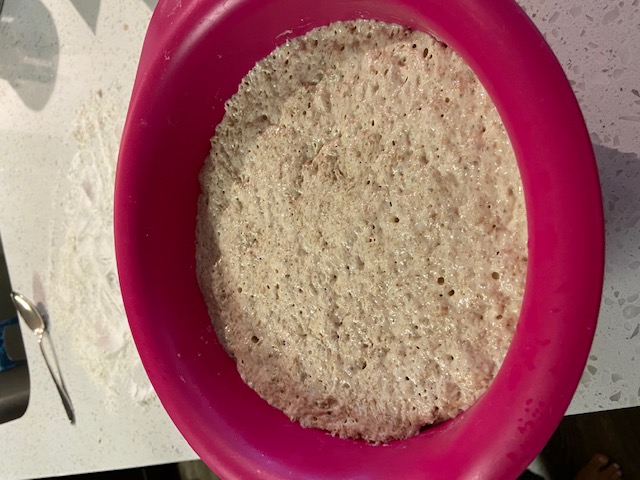
5.Let dough rise for 12-15 hours

6.Sprinkle countertop and inside of bread basket with all purpose flour, set basket aside for now.

If you’re using a kitchen towel rather than a bread basket, sprinkle flour on kitchen towel to prevent dough form sticking later on.

7. Carefully remove dough from bowl with spatula, letting it fall on flour covered counter top area. The goal here is to keep the air bubbles that formed in the dough during the rising process intact.
8.Using the spatula, carefully scrape the sides of the dough up towards the middle, bringing some of the flour with you to form something that looks like a dumpling.


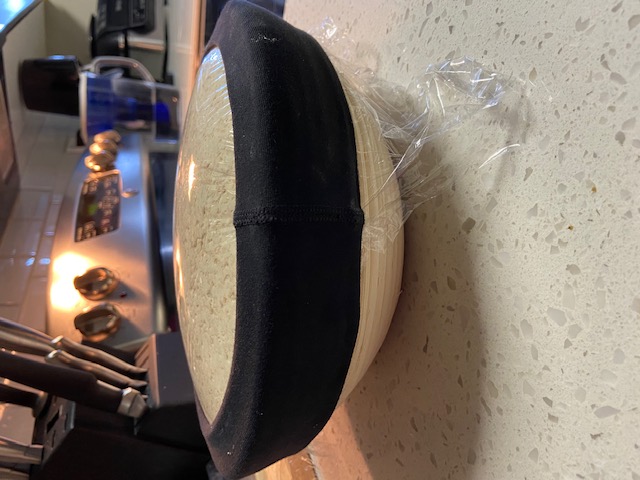
9. Flip the dumpling dough form over and place it either in your bread basket or on your kitchen towel with the seam side down.


10. If using a bread basket, cover the basket with a clear wrap as before and secure it with a rubber band or headband to keep air from entering the basket.

If you are using a kitchen towel, cover the dough with the sides of the towel securely and place the whole package in a slightly smaller bowl than your original mixing bowl.


11. Let the dough rise for 2 hours


12. While the dough rises, place your dutch oven in the oven and preheat to 450 degrees
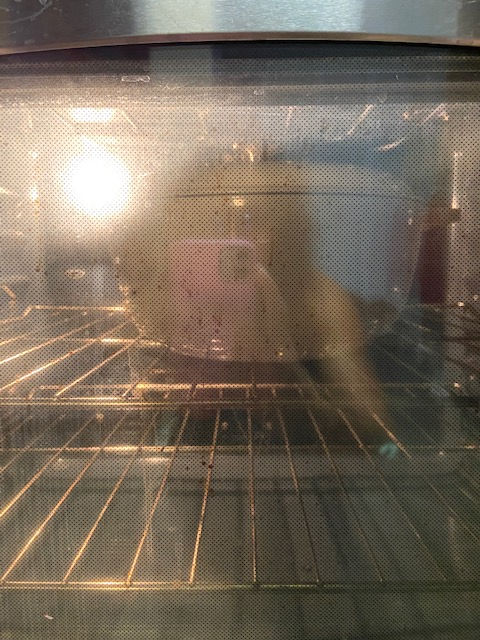
13. Once the 2 hour rising process is done, remove the dough from the basket or towel, flipping it over into the hot dutch oven (seam side will now be up)

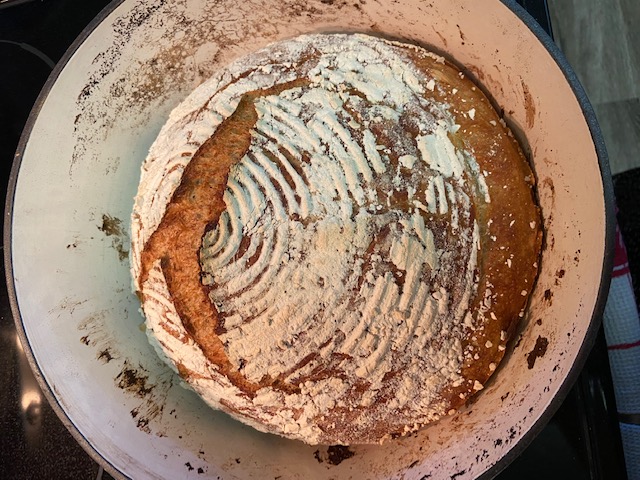
14. Bake with dutch oven closed for 40 minutes

15. After 40 minutes, remove lid of dutch oven and bake for an additional 15 minutes
16. Remove dutch oven from heat
17. Remove bread from dutch oven and place on cooling rack (do not let the bread cool in the hot dutch oven as it will be overcooked.


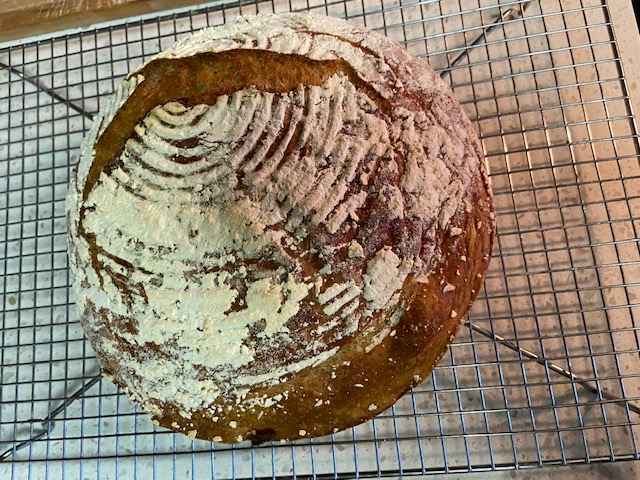
18. Once cooled, slice and enjoy!
It may seem like quite a few steps, but trust me, this process is super easy once you’ve done it a couple times and the resulting loaf is to die for! In our household my husband and I switch off making bread and it seriously not only allows you to have a healthy loaf in your home at all times, but also makes your kitchen smell like a European Bakery 24/7!
If you’re feeling adventurous, you can always add dried fruits, hemp hearts, olives, etc in the dough before the initial rising process to give your bread some extra flavor or crunch.
Macro Tip:
If you want to enter this bread recipe into MyFitnessPal, simply enter all of the ingredients, weighing bread once it comes out of the oven and entering that amount as the number of servings yielded by the recipe. For example, my bread is usually somewhere around 1,170 grams, so my recipe would show that it makes 1,170 servings and each serving size would be 1 gram. This approach makes tracking this bread super easy as you can simply weigh the slice you would like to enjoy and enter that number as the number of servings you are having.
I know a ton of you already tried this recipe since I saved it in my Instagram highlights and your breads have turned out amazing, so if you’ve been hesitant about jumping on the baking bandwagon, trust me, you can do this! Get your bake on!
Comments